Architectural Metal Installation Sequence: Coordinating Metal With Millwork, Stone and Glass
Architectural metal installation sequence can determine whether a finished detail comes together cleanly or turns into a series of expensive field adjustments.
On many high-end interior projects, custom metal does not exist by itself. A bronze frame meets millwork. Stainless steel reveals terminate against stone, while brass profiles may align with glass. Each trade can produce its component accurately, but the wrong installation sequence can still create alignment problems on site.
The real question goes beyond, “When should we install the metal?”
Instead, the project team needs to determine which component establishes the reference condition and which component can adjust to it.

There Is No Universal Installation Order
No rule says architectural metal must always go before millwork, stone or glass — or always after.
The correct sequence depends on several factors:
- ✔ Which material offers the least flexibility for field adjustments
- ✔ What component establishes the finished plane
- ✔ Where the design allows the team to absorb tolerances
- ✔ Whether fabrication requires final field dimensions
- ✔ How installers will attach the metal
- ✔ The access required for concealed fasteners
- ✔ Which finished surfaces face the greatest risk of damage
- ✔ Whether adjacent trades need to scribe or fit their work to the metal
For this reason, the project team should establish the installation sequence during shop drawing development, not after the fabricated metal arrives on site.
When Metal Should Go First
Sometimes architectural metal needs to establish the datum for everything around it.
Consider a metal frame integrated into a millwork wall.
When the frame defines the finished opening and the millworker can scribe or adjust the surrounding material, installing the metal first may make sense. The millworker can then work from the actual installed condition rather than a theoretical dimension.
A similar approach can work for certain metal trims, recessed channels and structural metal components that create the reference plane for adjacent finishes.
In these situations, the metal becomes the control element.
However, this approach only works when installers can position the metal accurately relative to the building structure and substrate. A precision-fabricated component cannot solve an inaccurate substrate. Instead, it simply transfers the problem to the next trade.
When Metal Should Go Last
Other details work better when architectural metal becomes one of the final components in the sequence.
Decorative brass or bronze trims provide a good example.
Where millwork or stone establishes the primary geometry, the team may want to complete those surfaces first, verify final dimensions and then fabricate the metal to match the actual condition.
This approach becomes particularly important with hand-finished architectural metal.
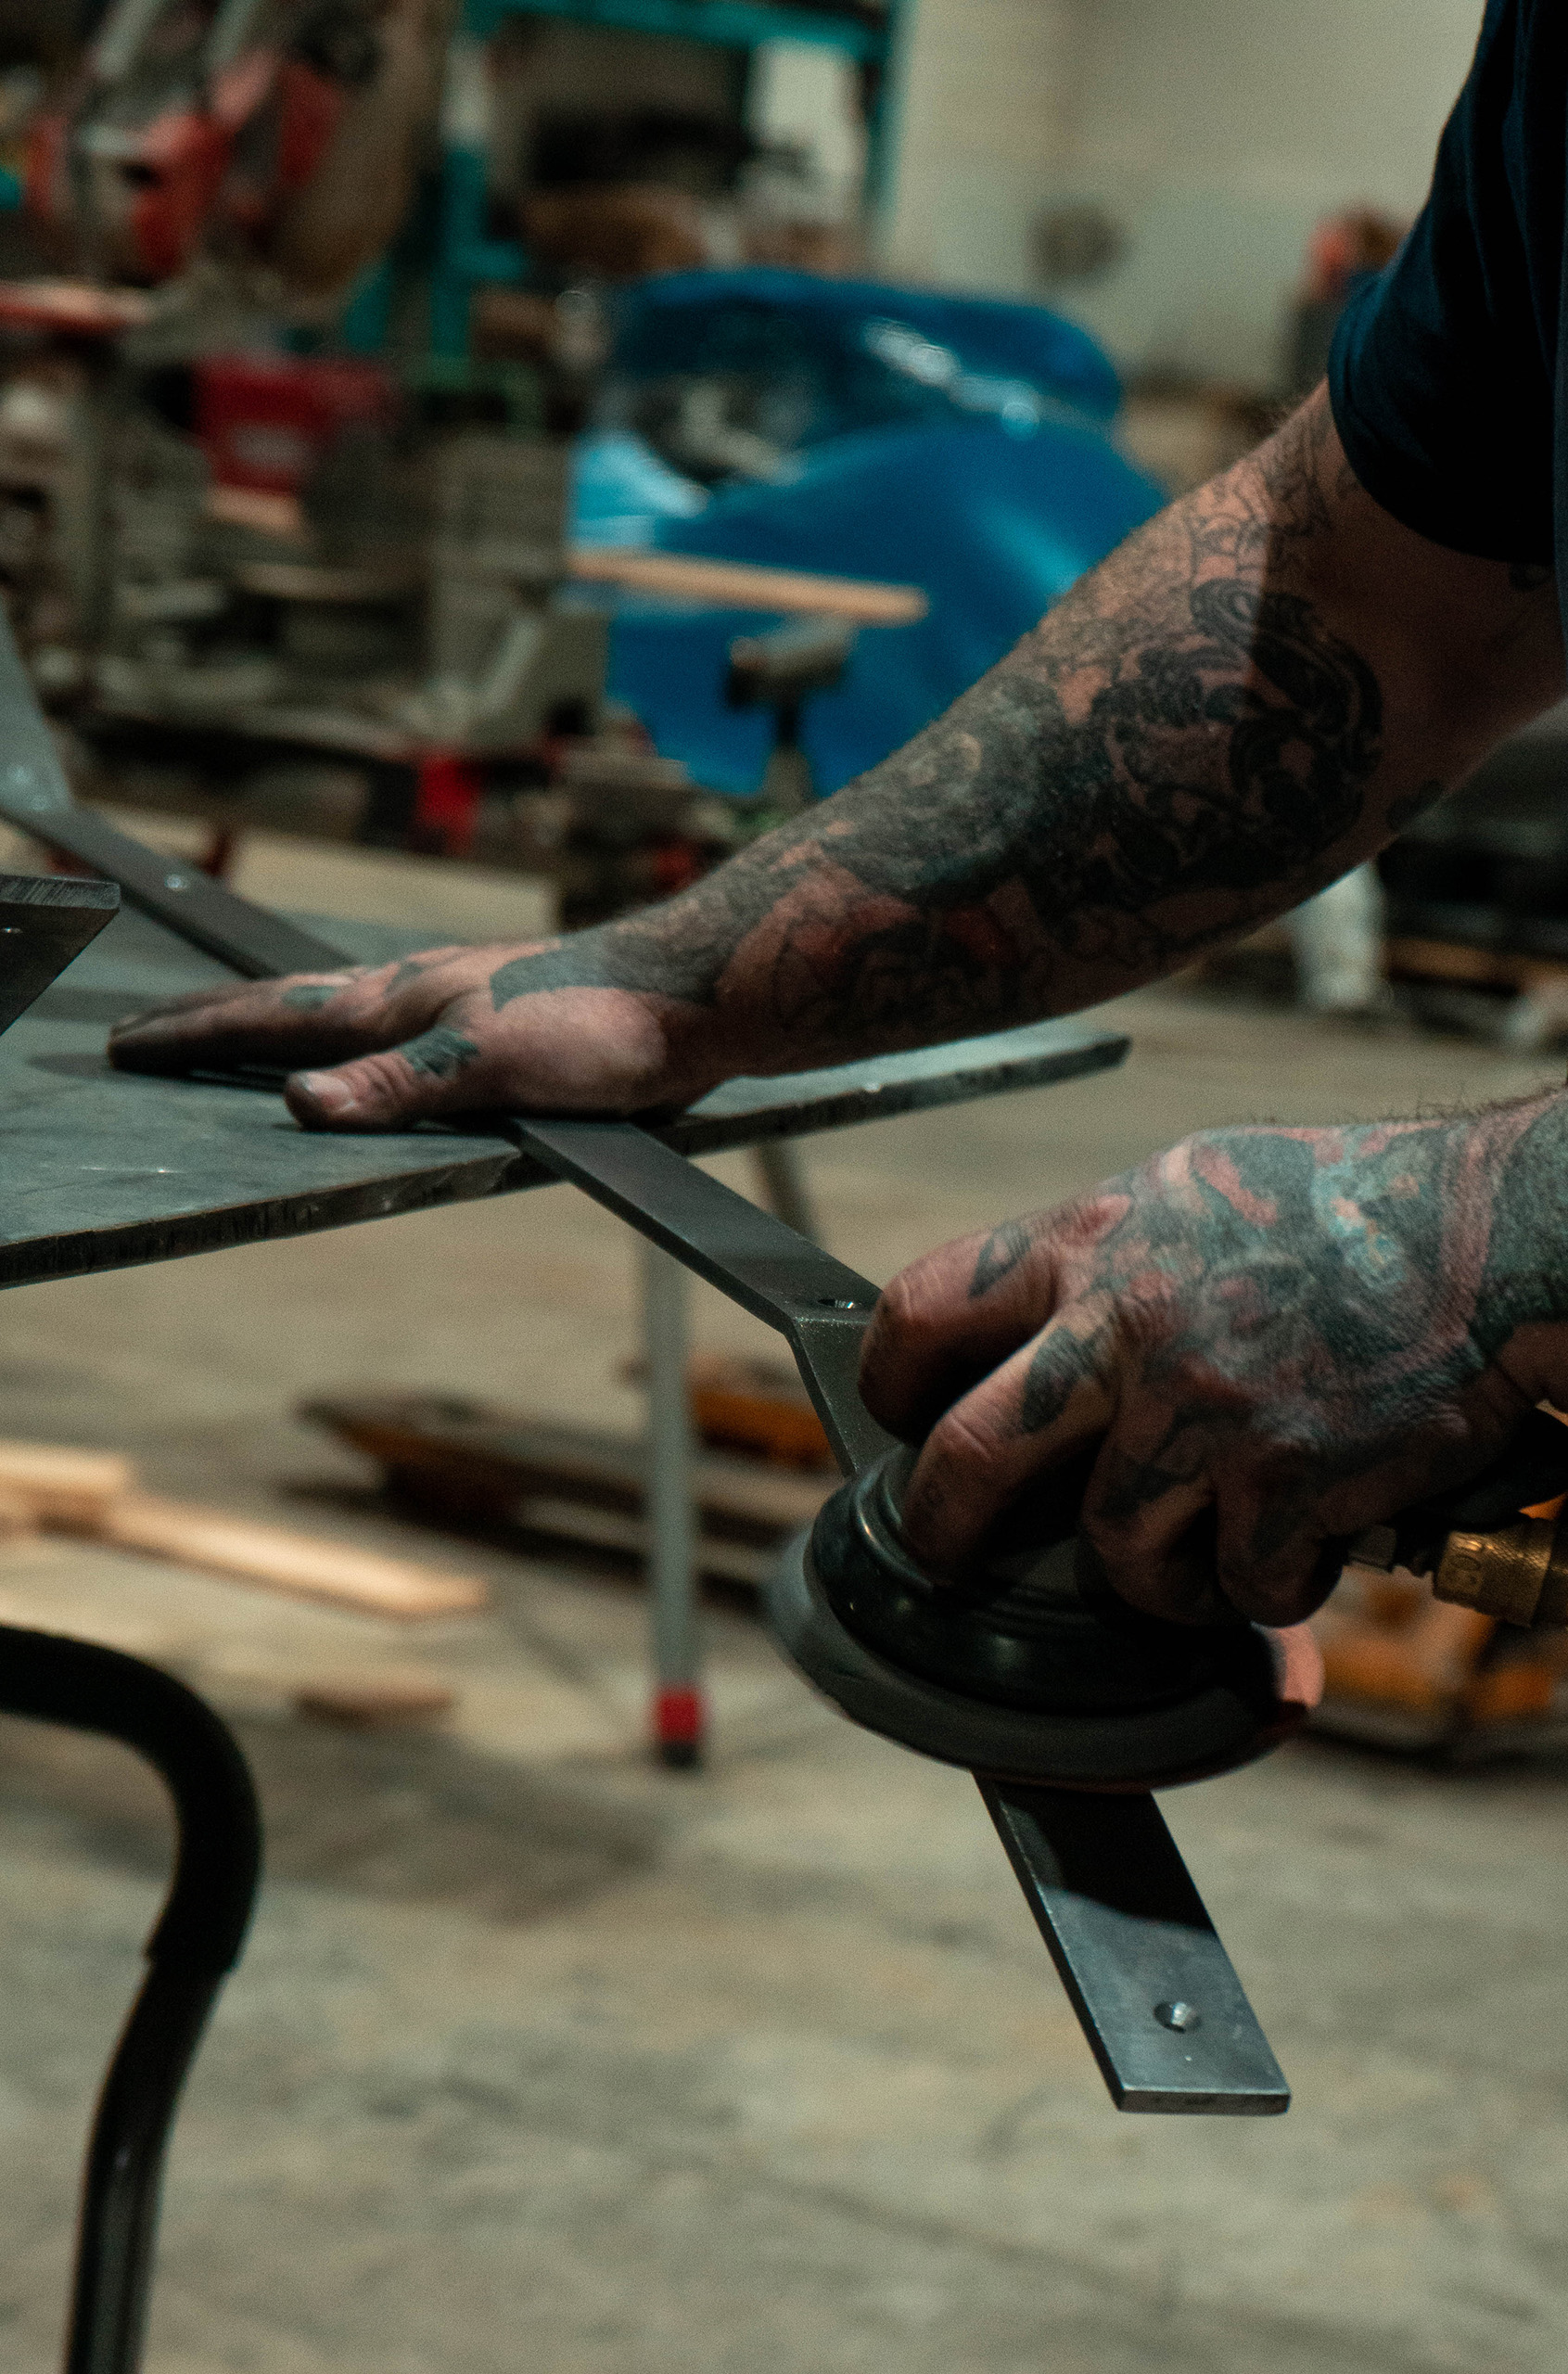
Cutting, grinding or modifying finished bronze or brass on site can damage the surface. With a hand-applied patina, a fabricator may struggle to blend a repaired area perfectly into the surrounding finish.
Whenever possible, the fabricator should make final adjustments in the shop rather than on the finished face of the metal.

Architectural Metal Installation Sequence: Coordinating Metal With Millwork, Stone and Glass, Toronto, New York, Miami, Canada, USA
Millwork and Metal Need a Defined Tolerance Strategy
Fabricators can produce both millwork and architectural metal with high precision.
The building around them rarely offers the same accuracy.
Walls move. Floors vary, and corners run out of square. Small dimensional variations from multiple trades can also accumulate across an assembly.
This difference becomes important when two highly precise fabricated components meet an imperfect building.
The project team needs to decide where the assembly will absorb that variation.
Common solutions include:
- ✔ A controlled reveal
- ✔ Shadow gaps
- ✔ Adjustable brackets
- ✔ Concealed oversized holes
- ✔ Removable trims
- ✔ Scribe conditions
- ✔ Joints between components
Designers should avoid assemblies where every component depends on every other component landing at an exact theoretical dimension.
Real buildings rarely cooperate with that assumption.
Stone Creates a Different Sequencing Problem
Stone introduces another challenge because installers have limited options for adjustment once they set it in place.
Imagine a bronze surround meeting a large stone panel with a narrow reveal.
When the stone contractor and metal fabricator work independently from architectural drawings, both components may arrive on site expecting the other trade to hit the exact design dimension. Even a small deviation can become highly visible.
On one project, the team may install the stone first and let the metal fabricator field measure the remaining condition.
A different project may require the metal assembly to establish the geometry first, allowing the stone contractor to work toward it.
The design and attachment system determine which approach makes more sense.
Most importantly, the project team needs to make that decision before fabrication and clearly identify which trade controls the geometry.
Glass Often Requires the Most Coordination
Glass can create even tighter constraints.
A metal frame surrounding glass may need to accommodate glass thickness, setting blocks, gaskets, channels, required clearances and installation access.
An elevation might show one simple dimension, while the actual assembly contains several independent components and tolerances.
Fieldwire by Hilti explains that shop drawings bridge the gap between design intent and what actually gets fabricated and installed. Proper coordination at this stage helps identify conflicts before fabrication, when teams can resolve them far more efficiently than during installation.
That principle applies directly to architectural metal integrated with glass, millwork and stone.
Rather than treating several independent materials as if they simply meet at the same line, the team needs to design the interface as one complete assembly.
Shop Drawings Should Show More Than the Metal
Project teams sometimes treat architectural metal shop drawings as drawings of the metal component alone.
That approach misses the most important part of many details: the interface.
For integrated assemblies, sections should clearly identify:
metal → attachment → substrate → adjacent finish → reveal → finished plane
When metal meets millwork, the drawing should show the millwork condition.
At a stone termination, the section should include the stone.
For glass fitted inside a metal assembly, the drawing should account for glass thickness, gaskets, channels and necessary clearances.
The metal fabricator does not need to design another trade’s work. Drawings simply need to ensure that everyone works from the same geometry.
Field Measurements Need the Right Timing
“Field verify” sounds simple on a drawing.
In practice, the timing of that verification matters just as much as the measurement itself.
For example, imagine that a metal fabricator measures an opening before the surrounding millwork goes in. When the final metal dimensions depend on the finished millwork, that early measurement provides little value.
Instead, the project team should define exactly which conditions must exist before anyone takes final field dimensions.
A sequence might look like this:
Millwork installation → opening verification → metal fabrication → metal installation
Another project might require:
Metal subframe installation → stone field measurement → stone installation → decorative metal trim installation
Different projects require different sequences.
The key is making sure every trade understands the sequence before production starts.
Design the Installation Sequence Before Fabrication
The best architectural metal details do not leave installation order to chance.
Before fabrication begins, the project team should answer several practical questions:
Which trade establishes the datum?
What component goes first?
Where can the assembly absorb tolerance?
Do any components require field measurement?
At what stage can the team take reliable measurements?
Will installers have access to all attachment points?
How much adjustment remains after neighboring materials go in?
Could someone remove a component later without damaging adjacent finishes?
These may sound like installation questions, but the answers directly affect design and fabrication.
Precision Requires Coordination
Architectural metal fabricators can work to extremely tight tolerances.
The surrounding building will not always match that precision.
Successful installation at interfaces with millwork, stone and glass depends on understanding how those materials will actually come together on site.
A well-planned architectural metal installation sequence establishes which trade controls the geometry, where the assembly absorbs tolerances and when the team can rely on final field dimensions.
Early coordination allows even a complicated multi-material assembly to look remarkably simple when finished.
And that is usually the point.
At MNR Custom Metal, we work with architects, designers, millworkers, general contractors and other trades to coordinate custom architectural metalwork before fabrication begins. We review interfaces, tolerances, field conditions, attachment methods and installation sequencing early in the process to turn complex multi-material details into practical, buildable assemblies.
See more
- Custom Metal + Millwork: How to Get Perfect Reveals, Joints and Transitions
- Durability Meets Design: Why Stainless Steel Elegance Is the Architect’s Secret Weapon
- 5 Custom Metal Features That Instantly Increase Property Value
- Why Custom Metalwork Is the Secret Ingredient in Award-Winning Interior Design
- Trending Metal Finishes for 2024: What’s In and How to Use Them
- Metal Railings and Guards: Balancing Safety, Style, and Code Compliance